|
Adding a Label Profile |
  
|
Adding a Label Profile
|
Adding a Label Profile |
|
Overview
A label profile can be added in the "Labels" module (Option A) but also via a "Labels List" table that is accessed through the "Print Label" process, meaning, in its properties window (option B).
Check each option's step-by-step below:
To Add a Label Profile
Option A
Step-by-step
1. In the "Labels" module, right-click an empty area to access the "Add Label" option.
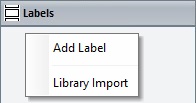
2. Click "Add Label".
3. In the resulting OS browse window, select the intended label file (a file developed via an external label design application. Ex:.ZPL; .DPL; .EPL).
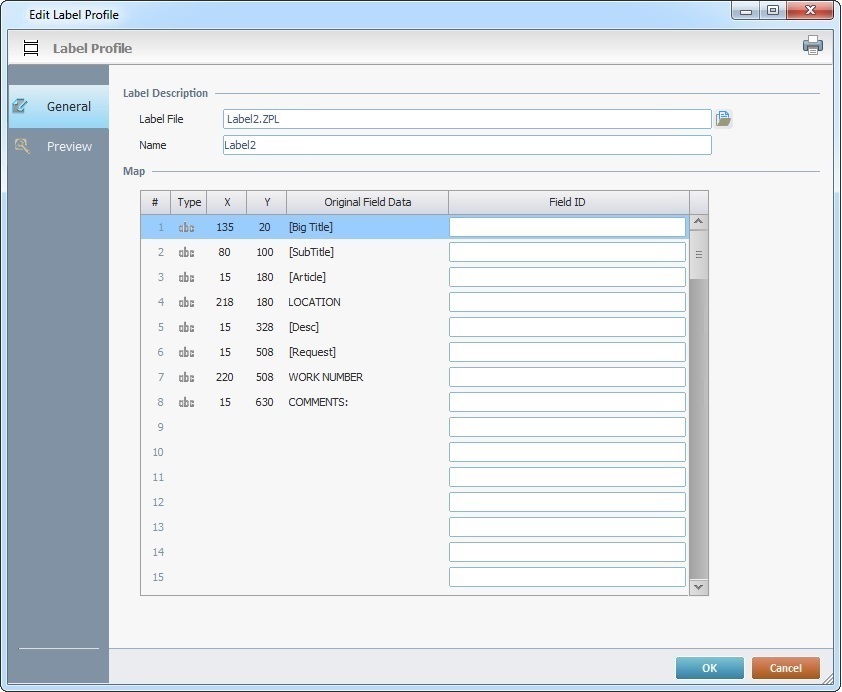
After the label file selection, a "Label Profile" window opens. Some of its fields are already filled in with the selected label's information.
4. If required, click ![]() to open an OS browse window and select another label file.
to open an OS browse window and select another label file.
If you change the label file, the "Map" table will automatically be filled in with data from the newly selected label file.
5. In the "Name" option, enter a name for the label profile or maintain the suggestion.
6. If required, define a "Field ID" for the intended label field(s) of the "Original Field Data" column.
The "Field IDs" you define in the "Field ID" column are retrieved by the "Print Label" process and used to better map each label field for printing.
7. If you want to view how the label will be printed, open the "Preview" tab.
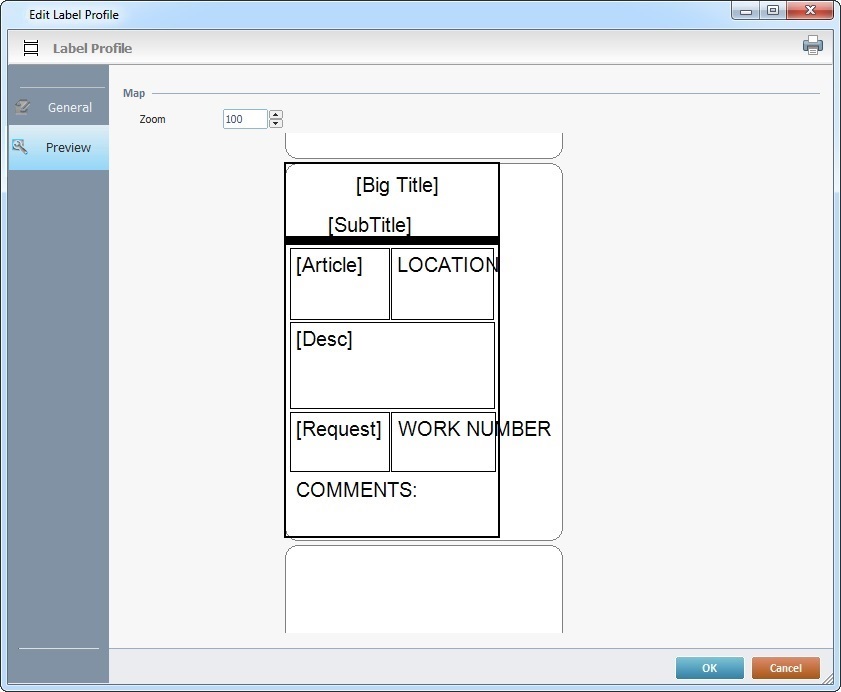
8. If required, use the "Zoom" option to zoom in or zoom out the label preview. The default value is 100%.
This preview displays the original data from the selected label file. Any "Field ID" edition made in the "General" tab will NOT be displayed here. That entered information/edition is only used in the "Print Label" process to map the existing label fields.
9. If you want to test/print a label with these settings, click ![]() (on the upper right corner) and select an installed printer in the resulting window.
(on the upper right corner) and select an installed printer in the resulting window.
![]() When selecting a printer, make sure that it is compatible, meaning, it must be able to read ZPL, DPL or EPL according to the language used in the label being printed.
When selecting a printer, make sure that it is compatible, meaning, it must be able to read ZPL, DPL or EPL according to the language used in the label being printed.
10. Click ![]() to apply OR
to apply OR ![]() to abort the operation.
to abort the operation.
Option B
Step-by-step
1. In the properties window of a "Print Label" process, click ![]() (located to the right of the "Labe"l field).
(located to the right of the "Labe"l field).

This opens a "Labels List" window that includes the current project's label profiles.
2. Click ![]() (located to the right of the table).
(located to the right of the table).

The resulting "Label Profile" window is empty.
3. Click ![]() (to the right of the "Label File" box) to open an OS browse window and browse for a label file (a file developed via an external Label Design application. Ex:.ZPL; .DPL; .EPL).
(to the right of the "Label File" box) to open an OS browse window and browse for a label file (a file developed via an external Label Design application. Ex:.ZPL; .DPL; .EPL).
After the label file selection, the "Label Profile" window will have some of its fields filled in with the selected label's information.
4. Maintain the suggestion or enter a new name for the label profile in the "Name" option.
5. If necessary, define a "Field ID" for the intended label field(s) of the "Original Field Data" column.
The "Field IDs" you define are retrieved by the "Print Label" process and used to better map each label field for printing.
6. If required, open the "Preview" tab to view how the label will be printed.
7. If required, use the "Zoom" option to zoom in or zoom out the label preview. The default value is 100%.
This preview displays the original data from the selected label file. Any "Field ID" replacements made in the "General" tab will NOT be displayed here. That entered information/edition is only used in the "Print Label" process to map the existing label fields.
8. If you want to test/print a label with these settings, click ![]() (on the upper right corner) and select an installed printer in the resulting window.
(on the upper right corner) and select an installed printer in the resulting window.
![]() When selecting a printer, make sure that it is compatible, meaning, it must be able to read ZPL, DPL or EPL according to the language used in the label being printed.
When selecting a printer, make sure that it is compatible, meaning, it must be able to read ZPL, DPL or EPL according to the language used in the label being printed.
9. Click ![]() to apply OR
to apply OR ![]() to abort the operation.
to abort the operation.
