|
Creating an Index |
  
|
Creating an Index
|
Creating an Index |
|
Overview
The creation of an index allows for faster table access.
To Create an Index
Step-by-step
1. Open the "Local Database" module.
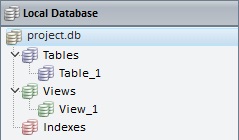
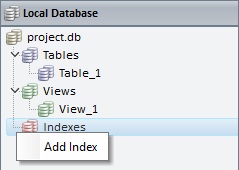
2. Right-click "Indexes".
![]()
Be aware that the "Indexes" section will only become visible once a table is added to the local database.
3. Click "Add Index".
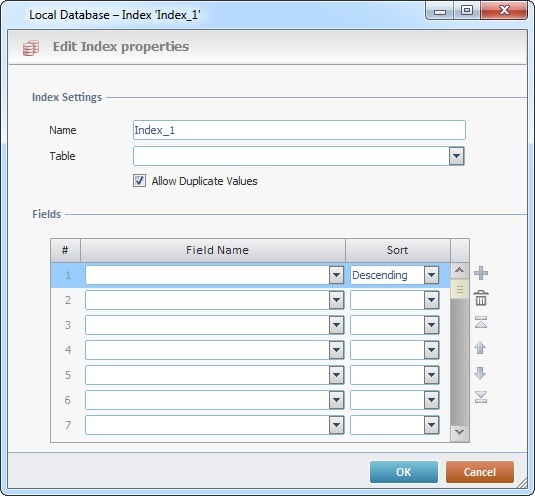
4. Fill in the following options:
Index Settings |
|
Name |
Enter the name of the new index. By default, you are provided with a suggestion ("Index_1") but it can be edited/replaced. |
Table |
Select the table you want to create an index in. The drop-down displays the tables that exist in the "Local Database" module. |
Allow Duplicate Values |
Check this option if you want to allow duplicate values in the selected fields. |
Fields |
|
Field Name |
Select the field(s) contained in the previously selected table from the corresponding drop-down. |
Sort |
Define each field's sorting from the corresponding drop-down ("Descending" or "Ascending)" |
Use the editing icons to the right of the table to move the rows up and down and to delete or add more rows.
5. Click ![]() to conclude.
to conclude.
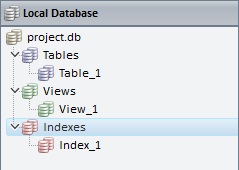
The new index is displayed in the "Index" section of the "Local Database" module.
![]() If required, you can use Drag-and-Drop to reorder the existing Indexes.
If required, you can use Drag-and-Drop to reorder the existing Indexes.