|
Setting up the Project |
  
|
Setting up the Project
|
Setting up the Project |
|
Overview
To create a new project, first establish the project's configurations.
Step-by-step
1. Open MCL-Designer V4, select “File” (located in the "Menu Bar") and, then, “New” OR click ![]() (in the "Icon Shortcut Bar").
(in the "Icon Shortcut Bar").
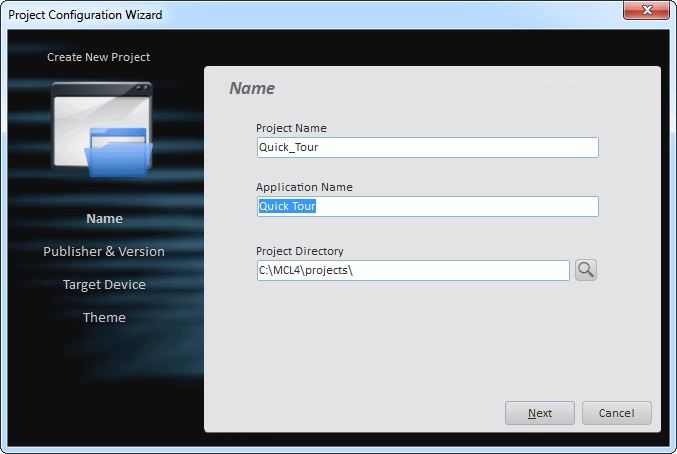
2. In the resulting "Name" window, enter a name for the project in the "Project Name” box (the "Application Name" box fills automatically with what you have entered), and, if a different project directory is required, click ![]() to browse for it. Ex: project name – “Quick Tour” (MCL-Designer V4 automatically replaces a space with an underscore)).
to browse for it. Ex: project name – “Quick Tour” (MCL-Designer V4 automatically replaces a space with an underscore)).
![]() A project/application name can only contain alphabetic characters, numbers, and the underscore character “_” because the project name is also the directory's name on the drive where all project files are stored - "C:\MCL4\projects\Quick_Tour.PRJ".
A project/application name can only contain alphabetic characters, numbers, and the underscore character “_” because the project name is also the directory's name on the drive where all project files are stored - "C:\MCL4\projects\Quick_Tour.PRJ".
3. Click ![]() to continue to the next window.
to continue to the next window.
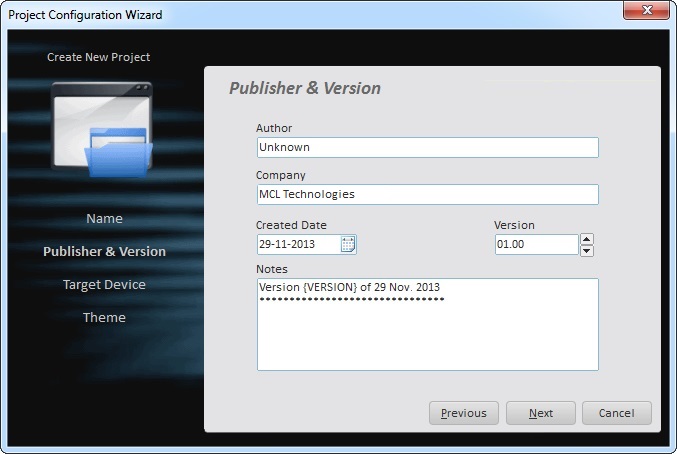
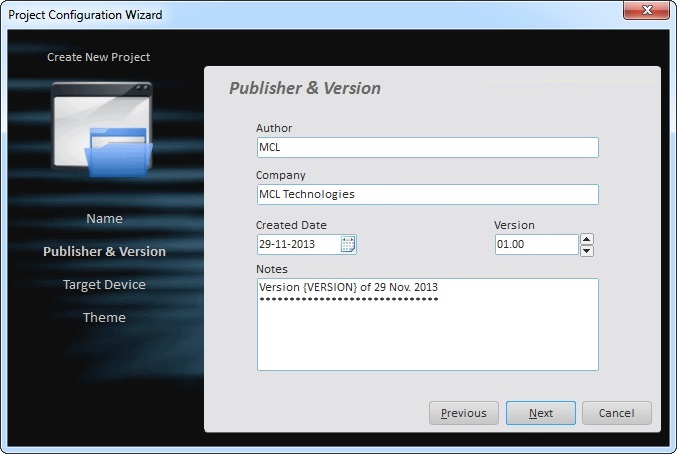
4. Type the project author's name, the company or customer name and, optionally, the version number, creation date and any additional notes in the corresponding boxes.
The "Company" field already displays a suggestion that refers to the company name you defined when registering the MCL-Designer product license.
Ex: Type “MCL” for project author and keep the company name suggestion.
5. Click ![]() to proceed to the next window.
to proceed to the next window.
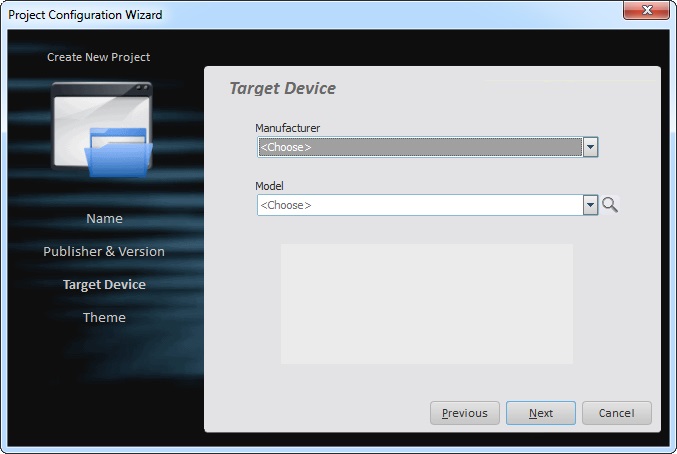
6. Select the device's manufacturer and model from the corresponding lists.
Ex: Use “Motorola/Symbol/Zebra” for the “Manufacturer”, and "MC75A" for the "Model".
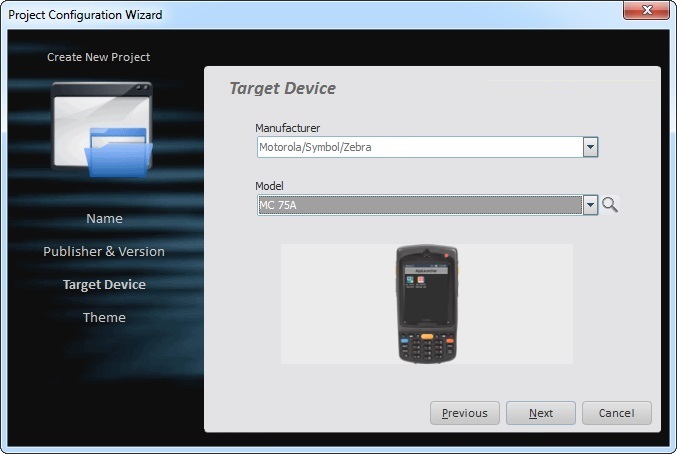
![]() The “Target Device” options can be changed, at any time, to another specific manufacturer and model.
The “Target Device” options can be changed, at any time, to another specific manufacturer and model.
7. Click ![]() to proceed to the next window.
to proceed to the next window.
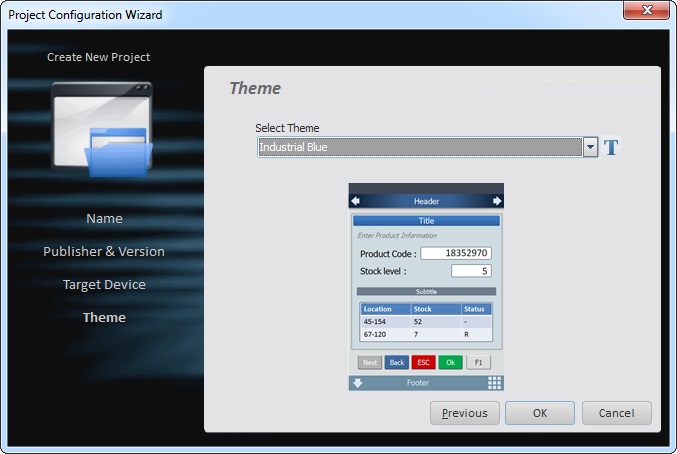
8. Select the project's theme from the drop-down OR click ![]() .
.
![]() The Theme determines the layout of buttons, menus and other controls within the program's screens.
The Theme determines the layout of buttons, menus and other controls within the program's screens.
9. Click ![]() to finish the Project Configuration wizard. See Creating a New Project.
to finish the Project Configuration wizard. See Creating a New Project.
Conclusion
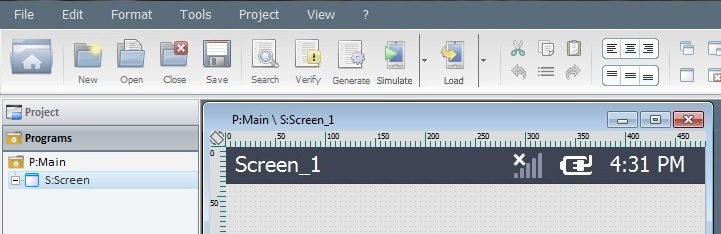
These steps have created a new project, which has automatically generated a program named “P:Main” and a screen named "S:Screen_1”.
These appear in the project's tree view, as follows:
You are, now, ready to create programs within an application to be used in a device.
Go to Creating a Program.