|
Editing a Remote Database Profile |
  
|
Editing a Remote Database Profile
|
Editing a Remote Database Profile |
|
Overview
It is possible to edit a remote database profile.
To Edit a Remote Database Profile
Step-by-step
1. There are three ways to initiate the editing of a remote database profile:
a. In the "Remote Database" module, right-click the remote database profile you want to edit and click "Edit" in the resulting menu.

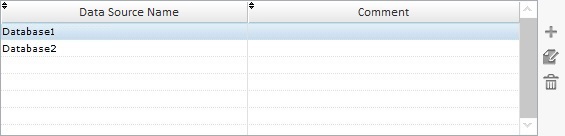
b. In the "Remote Database" tab of the "Project" properties window, select the remote database profile you want to edit and click ![]() (located to the right of the table).
(located to the right of the table).
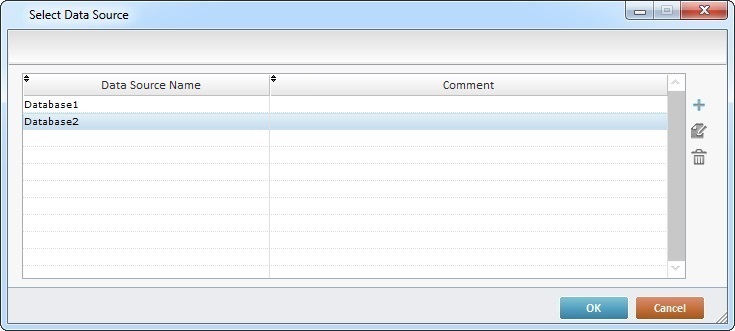
c. Click ![]() wherever available (usually in the properties windows of remote database related processes), select the remote database profile you want to edit and click
wherever available (usually in the properties windows of remote database related processes), select the remote database profile you want to edit and click ![]() (located to the right of the table).
(located to the right of the table).
Either one of these options (a., b., or c.) opens a "Remote Database Connection properties" window.

2. In the "General" tab, open by default, maintain or edit the required options:
Data Source Description |
|
Name |
Maintain or edit the name of the remote database profile. |
Connect String |
Maintain the connection or click As an option, test the new connection by clicking |
Option |
|
Keyword Delimiter |
Maintain or select other surround characters from the drop-down. |
Comment |
|
Maintain or edit the previously entered information. |
|
3. If required, continue to the "Advanced" tab and edit its options.
If you are done editing, proceed to step 4.
Integer Field Format |
|
Add Sign |
Maintain or check another sign for this format. |
Real Field Format |
|
Add Sign |
Maintain or check another sign for this format. |
Decimals |
Maintain the value or define more or less decimals. Enter the new value or use the arrows. |
Data and Time Field Format |
|
Custom Format |
Maintain the format or define another one for the date and/or the time. Check/uncheck this option to activate/deactivate the "Date" and "Time" options. Date - If active, select a format for the date from the drop-down. Time - If active, select a format for the time from the drop-down. |
Binary Field Format |
|
Custom Format |
Maintain the values or attribute other values to the "True" and "False" conditions. Check/uncheck this option to activate/deactivate the "True" and "False" boxes. True - If active, enter a value. False - If active, enter a value. |
4. Once you have executed the necessary changes, click ![]() to apply.
to apply.