|
Working with "Routine In" |
  
|
Working with "Routine In"
|
Working with "Routine In" |
|
Overview
A "Routine In" is a set of processes that is executed prior to any control's appearance. It does not allow for the addition of controls (with the use Display Controls processes - the exception being the "Message Box" process) or references to the controls (Control Operations processes). Each screen can only contain one "routine in".
To Add a "Routine In" to a Screen
It is possible to add a "routine in" to all the screens at once. You just have to make sure that when you create a new project, the "Create Routine In/Out for new Screens" option available in the "MCL-Designer Setup" window is checked. Every screen you create within the new project will include an empty "routine in". See Option "Create Routine In/Out for new Screens".
As an alternative, you can add a "routine in", one screen at a time:
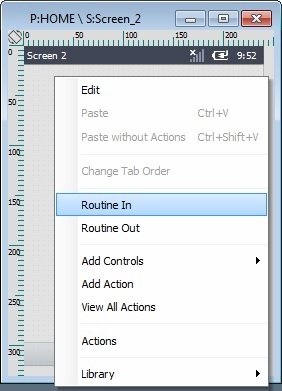
•In the tree view ("Programs" module), right-click the screen you want to add a "routine in" to and select "Routine In" in the resulting menu.
•In the open screen that will include the "routine in", right-click an empty area and select "Routine In" in the resulting menu.
Step-by-step
1. Use one of the following methods to create a "routine in" window:
•In the tree view of the "Programs" module, right-click the screen that will include the "routine in" and select "Routine In".

•In the open screen that will include the "routine in", right-click an empty area and select "Routine In" in the resulting menu.
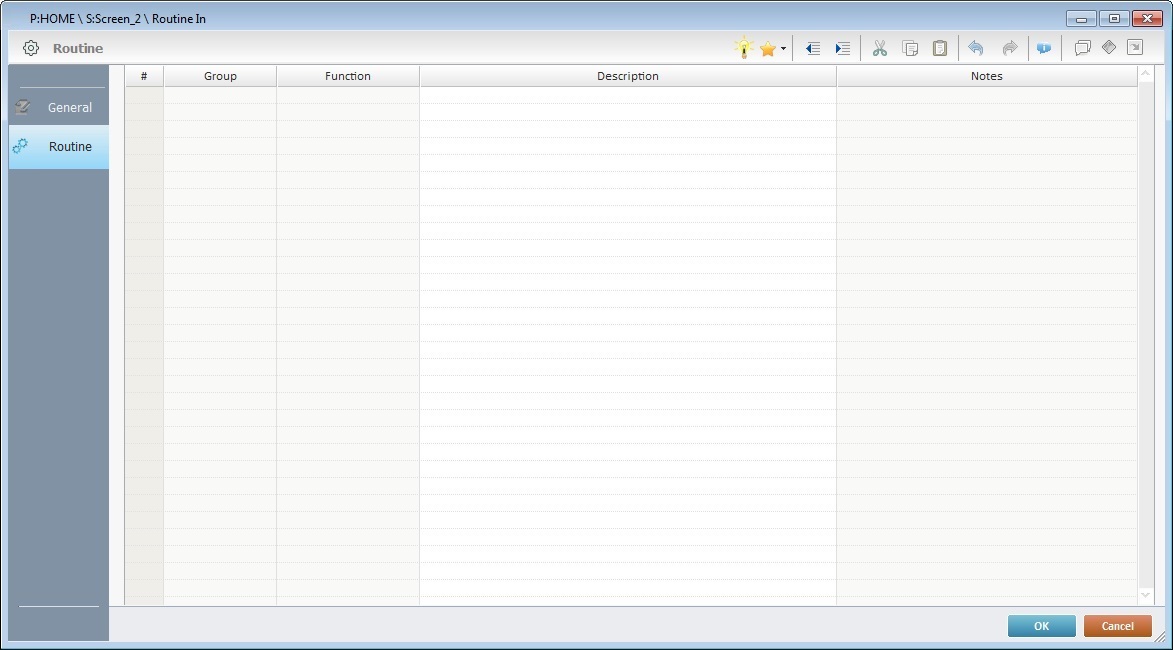
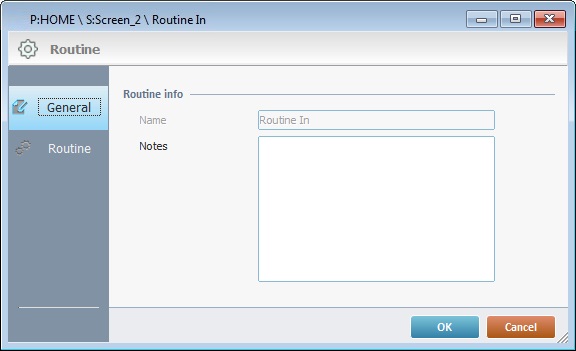
Both options open a "Routine In" window with the "General" and "Routine" tabs (the "Routine" tab is open by default).
![]() Once the "routine in" is added to a screen, use either of the "Routine In" right-click menu options to open the "routine in's" window and edit it, if necessary.
Once the "routine in" is added to a screen, use either of the "Routine In" right-click menu options to open the "routine in's" window and edit it, if necessary.
2. Use one of the following methods to add processes to this tab:
•Use the Drag-and-Drop to drag a process from the "Process Display Section" onto the "Routine" tab.
•Use the editing bar on top of the window and click ![]() to open a process list window (see Detail of Process List).
to open a process list window (see Detail of Process List).
•Right-click any row to open a menu and select the "Add/Insert" option.
3. If required, open the "General" tab to enter relevant information regarding the "routine in" in the "Notes" option.
The name of the "routine in" is NOT editable.
4. Once you are done, click ![]() to apply.
to apply.
"Routine In" Use
•If the option "Create Routine In/Out for new Screens", available in the "Designer Setup" window, is checked when the project was created, it will NOT be necessary to add a "routine in", every screen you create within the project will include one. See Option "Create Routine In/Out for new Screens".
•Regardless of the way you chose to add a "routine in", it will be empty. You must add the intended processes (in the "Routine" tab).
•A "routine in" only includes processes. Its execution does NOT depend on any action performed by the operator (event), it always executes before the screen runs.
•If you choose to keep the "routine in" empty (without processes), it will NOT run.
•A "routine in" CANNOT include controls. This means that you cannot add controls to its "Routine" tab or use processes that call/refer them (processes from the "Display Controls" or the "Control Operations" group). The only exception is the "Message Box" process which can be added to the"Routine" tab of the "routine in".
•If necessary, use the editing bar or the right-click menu in the "Routine" tab's rows.
•If you want to edit an added process, double-click it to open the corresponding properties window.
Below is an example of a screen with a "routine in" and a screen with no "routine in" to show you how the execution flow is affected:
Example: Screen with a "Routine In"

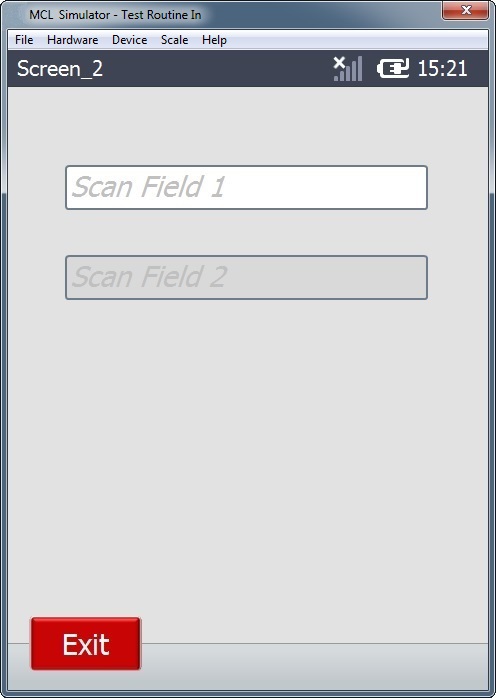
"Screen_2" includes 2 Input Barcode controls, an "Exit" Button and a "routine in". The "routine in" consists of a "Message Box" process.
This design leads to the following execution flow:
|
|
|
|
|
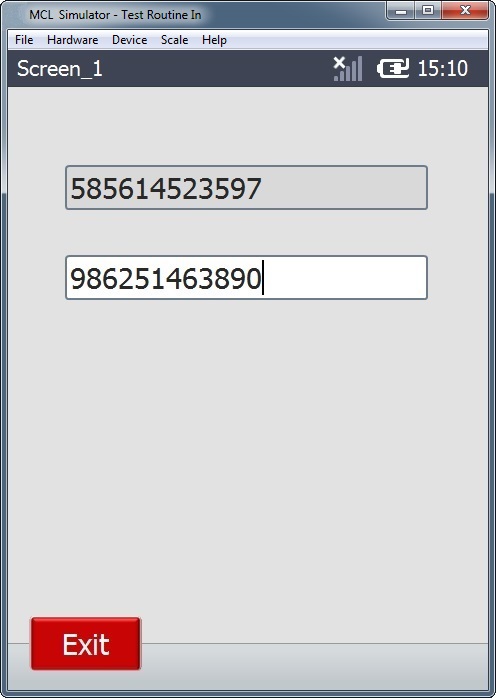
1. The operator performs the necessary data input (via scan or Keyboard Input) in both Input Barcode controls displayed in screen "S:Screen_1". (The second Input Barcode contains a "Change" action with a "Go to: <Next Screen>" process to ensure that the application flow continues to "S:Screen_2".)
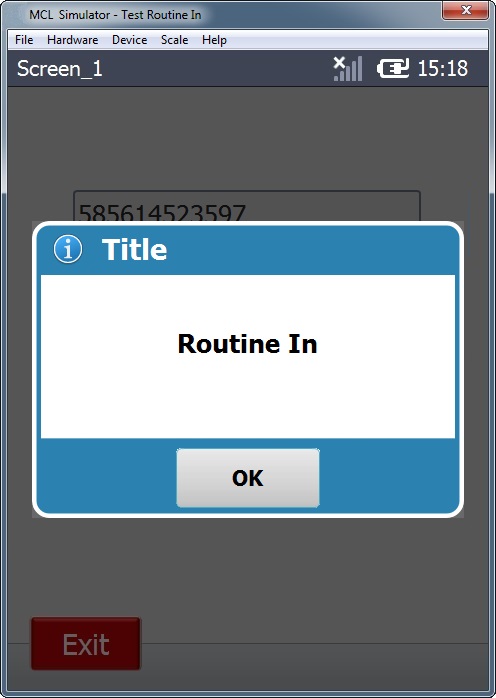
2. A Message Box is displayed. (The process added to the "routine in" is executed before the called next screen - "S:Screen_2" - is launched.)
3. To proceed to the screen "S:Screen_2" itself, the operator clicks "OK" in the Message Box (the Message Box contains a "Go to <Continue>" process).
4. The operator proceeds with the application (ex: data input in both Input Barcode controls or clicking the "Exit" Button to close the application).
Example: Screen without a "Routine In"
|
|
|
If "S:Screen_2" does NOT have a "routine in", the transition from "S:Screen_1" to "S:Screen_2" is immediate. (The second Input Barcode contains a "Change" action with a "Go to: <Next Screen>" process that ensures that the application flow continues to "S:Screen_2".)
To Delete a "Routine In"
Step-by-step
1.In the tree view ("Programs" module), right-click the "routine in" you want to delete.

2. In the resulting menu, click “Delete”.

3. Click ![]() in the "Delete Confirmation" window.
in the "Delete Confirmation" window.