|
Working with Routines |
  
|
Working with Routines
|
Working with Routines |
|
Overview
A Routine is a set of processes created to perform recurrent or shared functions on a local level (inside a program). It can also be added to global procedures. It is similar to a local procedure.
A program/global procedure can contain as many routines as necessary.
A routine is a reusable element within MCL-Designer V4. This means that a routine created in an MCL-Designer V4 project can be exported into the Library (a folder that stores reusable elements such as screens, programs, data files, etc.) and, then, imported into other projects.
To Add a Routine to a Program
Step-by-step
1. Go to the "Programs"module and right-click the program that will include the routine.

2. In the right-click menu, select the "Add Routine" option.
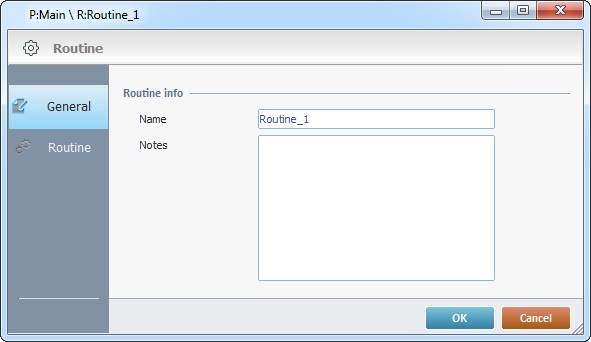
3. In the "General" tab (which is open by default), maintain the suggestion or enter a name for the routine.
4. If required, add notes concerning the routine.
6. Add the necessary processes to be executed.
See Adding Processes to a Routine, "Routine In", "Routine Out", Local Procedure or Global Event.
7. Click ![]() to conclude.
to conclude.
To Add a Routine to a Global Procedure
Step-by-step
1. Open the "Procedures" module and right-click the global procedure that will include the routine.

2. In the right-click menu, select the "Add Routine" option.
3. In the "General" tab (which is open by default), maintain the suggestion or enter a name for the routine.
4. If required, add notes concerning the routine.
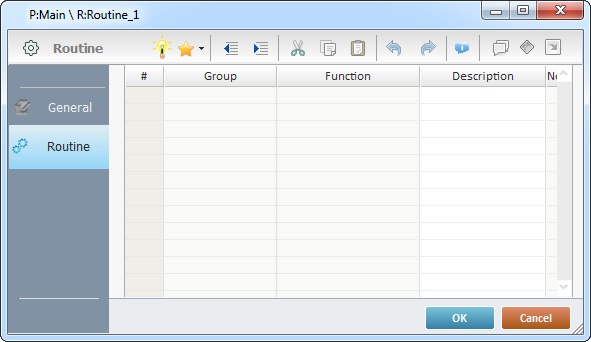
5. Open the "Routine" tab.
6. Add the necessary processes to be executed.
See Adding Processes to a Routine, "Routine In", "Routine Out", Local Procedure or Global Event.
7. Click ![]() to conclude.
to conclude.
To Call a Routine
A Routine can be called using a "GoSub" process, in which case, the routine should finish with a "Go to <Exit>". When the routine is finished, the application's execution will return to the process after it was initially called. In other words, back to the location from where it was originally called. See Working with GoSub Process.
Ex: Calling a routine with a "GoSub" Branch process means that the routine itself should end with a "Go to" process, target destination "<Exit>".

In addition to using a "GoSub", a Routine can also be called using a "Go to" Branch process. Then, it should be finished with an explicit “Go to End of Action/Routine” Branch process. Therefore, after running the routine, the application will continue to the next screen or routine available in the program tree or a "Go to" Branch process with a "<Routine>" or "<Screen>" target location selected.
See Working with Go To Process.
Ex: Calling a routine with a "Go to" Branch process implies that the called routine should end with the "Go to End of Action/Routine" process.

To Export a Routine to Library
Step-by-step
1. Depending on the location of the routine you want to export, open the "Programs" or the "Procedures" module.
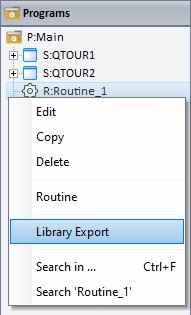
2. Right-click the routine you want to export.
In the "Programs" module |
In the "Procedures" module |
|
|
3.In the resulting menu, select "Library Export".
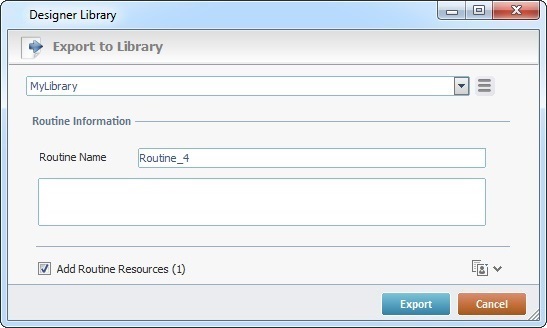
4. In the "Export to Library" window, maintain the suggested library or select another one from the drop-down.
As an alternative, click ![]() to select a different source library or rename it. See To Define a Library.
to select a different source library or rename it. See To Define a Library.
5. Fill in the following options:
Routine Information |
|
Routine Name |
Maintain the suggestion or enter a new name. If there is a routine in Library with the same name and you persist in the export operation, the routine already in Library will be overwritten by the new export. |
Text Box |
If required, add notes regarding the routine being exported. |
Add Routine Resources(x) |
If the routine contains resources, check this option to ensure they are included in the export. These resources can refer to image files, sound files, text files, language files containing the exportable element's localization tags, etc. |
![]()
It is possible to append project resources to the routine's export, even though they are not a part of the routine.
a. To view all project resources, click ![]() .
.
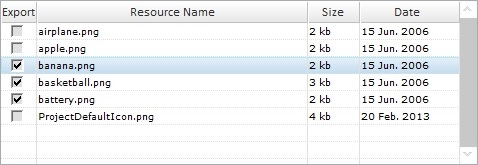
b. Check the project resources you want to include in the export. (If you have checked the "Add Routine Resources" option, the corresponding resources will be selected when you expand the project's resource list.)
c. If you want, click ![]() to hide the resource list.
to hide the resource list.
6. Click ![]() to conclude the export.
to conclude the export.
The exported routine is available in the Library ("Routines" section) and ready to be imported into another project.
![]()
As an alternative, you can use a drag-and-drop to initiate an export:
a. Open "Library Manager" (shortcut key - F4).
b. Drag the routine you want to export and drop it on the "Library Manager's" window. This opens the corresponding "Export to Library" window.
c. Proceed as described in steps 4 ,5 and 6 of the "To Export a Routine to Library" step-by-step.
![]() Click Here for Example of an Export Error
Click Here for Example of an Export Error
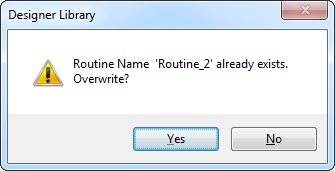
•If the library already contains a routine with the same name, the following message box appears:
a. Click
OR
b. Click
|
To Import a Routine from Library
Step-by-step
1. Open the destination project and use one of the following to access the "Library Manager" window:
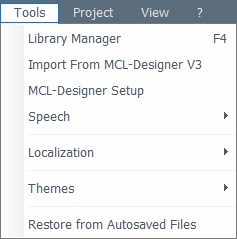
a. Go to the "Menu Bar", click "Tools" and, in the resulting menu, select "Library Manager".
b. Click <F4>.
c. Depending on your target for the routine to import, right-click a program or a global procedure select "Library Import".
In the "Programs" module |
In the "Procedures" module |
|
|
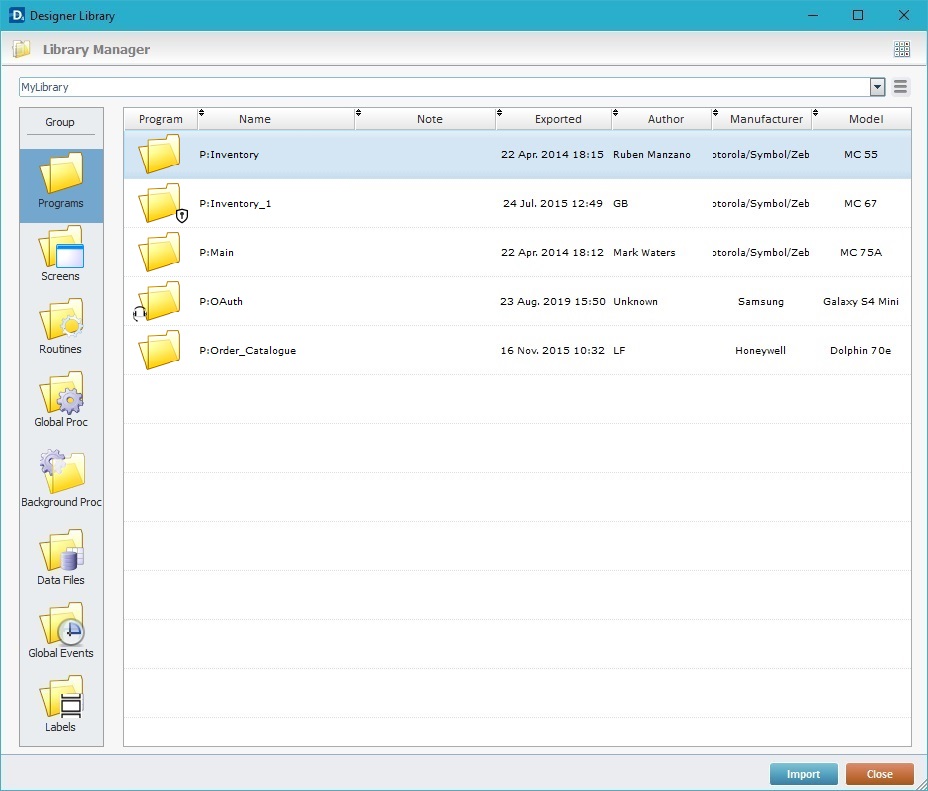
The "Library Manager" window opens.
2. If required, select a different source library from the drop-down OR click ![]() to access a table with the existing libraries where you can select, add or edit a library profile.
to access a table with the existing libraries where you can select, add or edit a library profile.
See To Define a Library.
If you used option a or b, continue to step 3.
If you used option c, proceed to step 4.
3. Select the element type you want to import in the "Group" section, to the left (in this case, "Routines").
A list of available routines for import is displayed.

![]() Library elements that have speech attributes, meaning, that were created within speech projects, are identified with a
Library elements that have speech attributes, meaning, that were created within speech projects, are identified with a ![]() (ex: R:SetupVoice).
(ex: R:SetupVoice).
A "speech" element (a program, a screen, a routine, a global procedure or a global event) can only be imported into projects being developed within an MCL-Designer V4 with an MCL-Voice add-on.
4. Use one of the following to access the "Import into Project" window and continue the import operation:
a. Double-click the routine you want to import.
b. Drag-and-drop the intended routine into the target program (in the "Programs" module) or global procedure (in the "Procedures" module).

c. Select the intended routine and click ![]() .
.
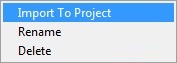
d. Right-click the selected routine and click the "Import to Project" option.
The corresponding "Import into Project" window opens.

This window displays information that cannot be edited (regarding the routine being imported) and information you can edit (the "Destination" section).
![]() If the destination project contains a routine with the same name as the routine being imported, the name of the imported routine will automatically change to "..._X" ("X "refers to an incremental number.
If the destination project contains a routine with the same name as the routine being imported, the name of the imported routine will automatically change to "..._X" ("X "refers to an incremental number.
![]() If the routine being imported is a "speech" routine (marked with a
If the routine being imported is a "speech" routine (marked with a ![]() ) and the target project is NOT being developed with an MCL-Designer V4 that includes an MCL-Voice add-on, the "import" operation is aborted.
) and the target project is NOT being developed with an MCL-Designer V4 that includes an MCL-Voice add-on, the "import" operation is aborted.

5. Maintain or enter new information, as required by the project.
Import Routine |
Displays the routine's name. NOT editable. |
Displays the routine's author and when the routine was added to the library. It can also include notes entered during the "export into Library operation". NOT editable. |
|
Destination |
|
Program |
Select the target program or global procedure for the import from the drop-down. It is NOT possible to import a routine into a locked element. (Locked programs and/or global procedures are not editable. A |
Routine Name |
Maintain the suggestion or enter a new name for the routine. The entered name must be different from the routine names already in use in the destination project. If there is a name repetition, the imported routine will replace the one with the same name already contained in the destination project. |
Import Routine Resources (x) |
If the routine contains resources, check this option to ensure they are included in the import. Their destination is the target project's "Resources" module. |
![]()
It is possible to add project resources (appended during the routine's export into the "Library" - see To Export a Routine to Library) to the routine's import, even though they are not included in the routine.
a. To view all project resources, click ![]() .
.
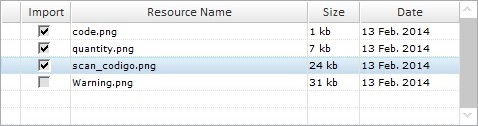
b. Check the project resources you want to include in the import. (If you have checked the "Import Routine Resources" option, the corresponding resources will be selected when you expand the project's resource list.)
c. If you want, click ![]() to hide the resource list.
to hide the resource list.
6. Click ![]() to conclude the routine import.
to conclude the routine import.
The newly imported routine is displayed in the tree view of the "Programs" or "Procedures" module and is ready to be used in the project.
![]()
If the imported routine uses a global variable that is already in use, in the destination project, it is renamed after the global variable of the current project.
Ex: The global variable A0, contained in the imported routine is named "Test2". The global variable A0 of the current project is named "Test1". After the routine import, the global variable "Test2" is renamed "Test1" according to the global variable of the current project.
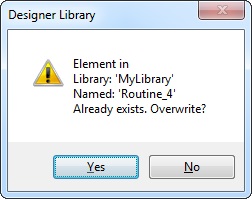
The •The destination program already contains a routine with the same name as the one to be imported. •The destination project contains a resource with the same name as the one being imported.
|
•If the name of the routine to import already exists in the current project, the following message box opens:
a. Click
OR
b. Click
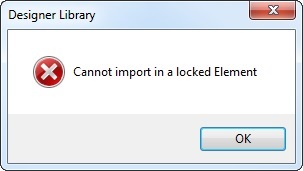
•If the destination of the routine import is a locked element (a program or a global procedure), the following message box opens:
a. Click
|