Overview
MCL-Loader V4 allows you to install MCL applications (developed with MCL-Designer) via a USB connection. This type of connection is ONLY available for Windows Mobile/Windows CE devices.
Selecting a USB connection implies following specific steps.
![]()
USB connections are NOT available for Android devices.
Step-by-step
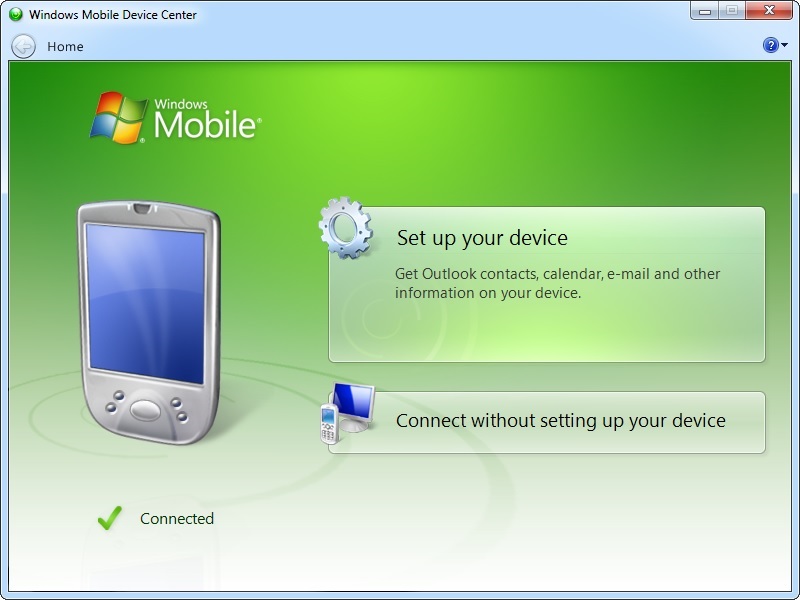
1. Connect the device via USB to your PC and ensure a successful connection to Windows Mobile Device Center.
2. Open MCL-Loader V4.

3. Click "MCL Application Installation".
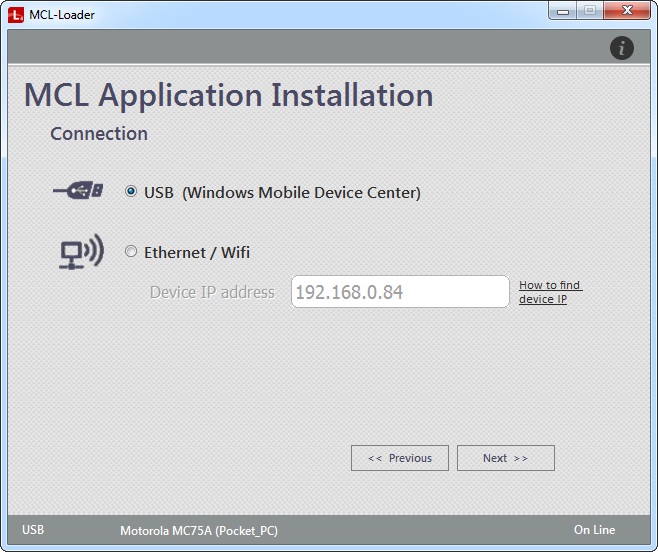
4. Check "USB (Windows Mobile Device Center)".
5. Click ![]() .
.

The device is identified and the window displays the following information:
The model of the currently connected device. |
|
Product |
The MCL product (software) installed in the currently connected device. |
Version |
The version of the detected MCL product (software). |
License Number |
The number of the MCL product's license. |
SSN |
The serial number of the installed MCL product (software). |
The empty area below can sometimes display current information on the device/MCL product. |
|
The Status Bar provides information on the type of connection ("USB"), the model and name (between parentheses) of the currently connected device and if there is a current connection to the Internet ("On Line"/"Off Line").
6. Click ![]() .
.
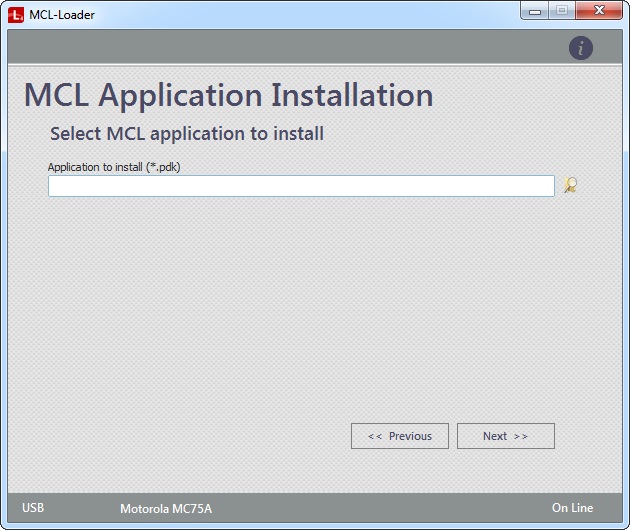
7. Click ![]() to open an OS browse window.
to open an OS browse window.
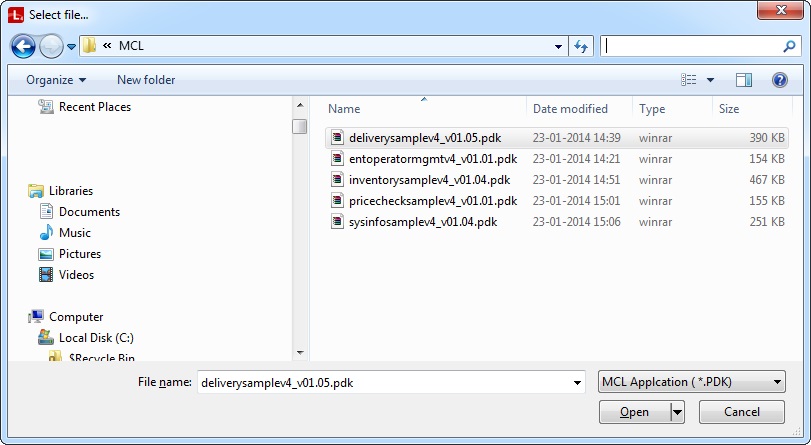
8. Select the application you want to install (a .pdk file).
![]() A .pdk file is the result of the application's publication or generation (operations within MCL-Designer). It is located in the application's folder (in the "deploy" subfolder)
A .pdk file is the result of the application's publication or generation (operations within MCL-Designer). It is located in the application's folder (in the "deploy" subfolder)
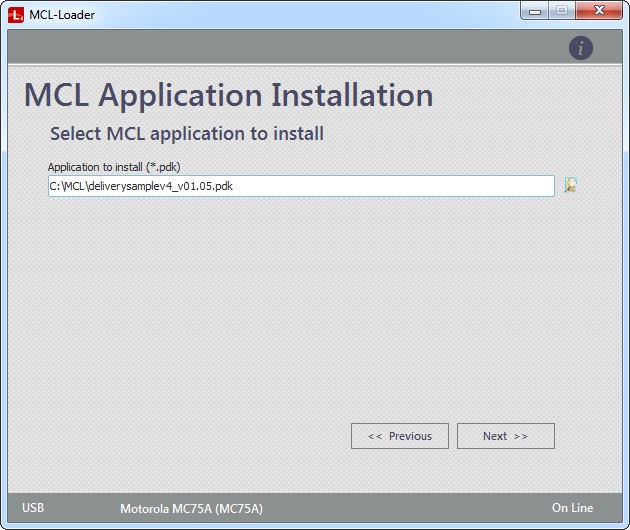
9. Click ![]() .
.
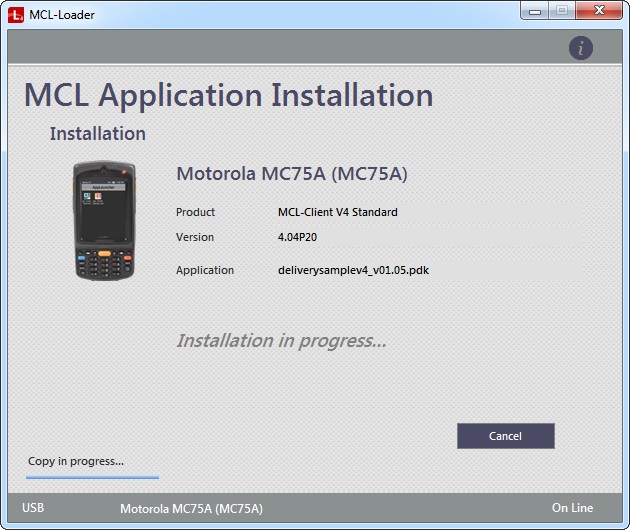
Wait until you have a success message:

The software installation is concluded.
10. In the device's screen, click ![]() .
.
11. The MCL application is installed in your device and you are provided with two buttons, each with a different purpose. Click the most appropriate one:
Button |
Action |
|
Click it to return to MCL-Loader V4's main menu. See The MCL-Loader V4 Menu. |
|
Click it to repeat the MCL application installation. |