Overview
It is possible to create new folders in both Inbox and Outbox.
Step-by-Step
1. In the Site Dashboard's "Control Panel", click ![]() to access
to access ![]() . Click it and open the "Filebox" page.
. Click it and open the "Filebox" page.
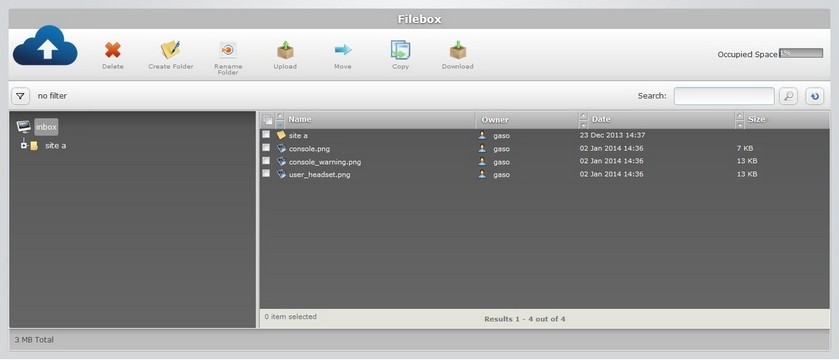
![]() The Inbox area is open, by default. If you want to view the Outbox to create a new folder in that area , use the
The Inbox area is open, by default. If you want to view the Outbox to create a new folder in that area , use the ![]() button (located below the Filebox icon) to access the
button (located below the Filebox icon) to access the ![]() button, and click it.
button, and click it.
2. Click ![]() .
.
![]() Depending on the folder/sub-folder selected (in the left section), you will create a sub-folder inside that selected folder/sub-folder.
Depending on the folder/sub-folder selected (in the left section), you will create a sub-folder inside that selected folder/sub-folder.
If you click ![]() , without a selected folder/sub-folder, (for instance, after opening the Filebox sub-module), you will create a new folder.
, without a selected folder/sub-folder, (for instance, after opening the Filebox sub-module), you will create a new folder.
EX: The "site b" folder (on the left section) is selected.
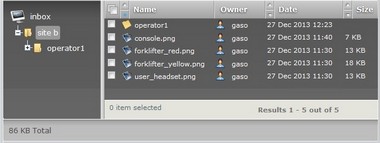
Clicking ![]() will create a sub-folder inside the "site b" folder with the default name "new folder".
will create a sub-folder inside the "site b" folder with the default name "new folder".
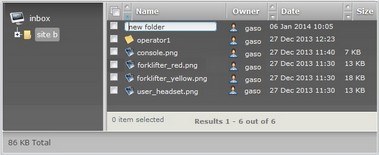
The newly created folder is displayed in the left section's tree view and in the right section.
In this case, since no folder was selected on the left section, the new folder is a main folder, at the same level as "site a".
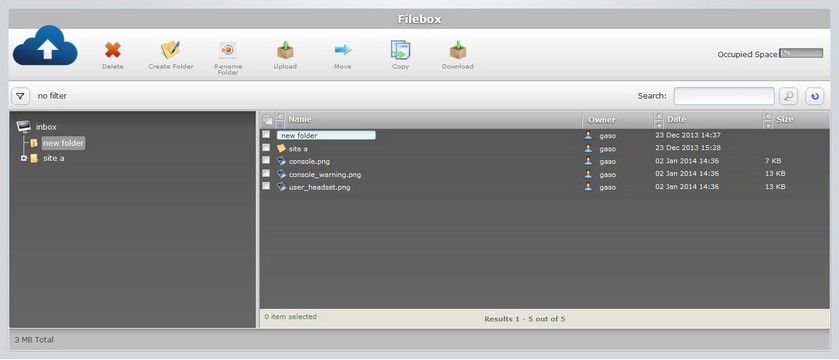
3. If required, change the new folder's name. In the right section, replace the folder's default name, "new folder", by entering a new name (ex: site b).
![]() Only use lowercase letters for the folder name. Capital letters will be converted to lowercase.
Only use lowercase letters for the folder name. Capital letters will be converted to lowercase.
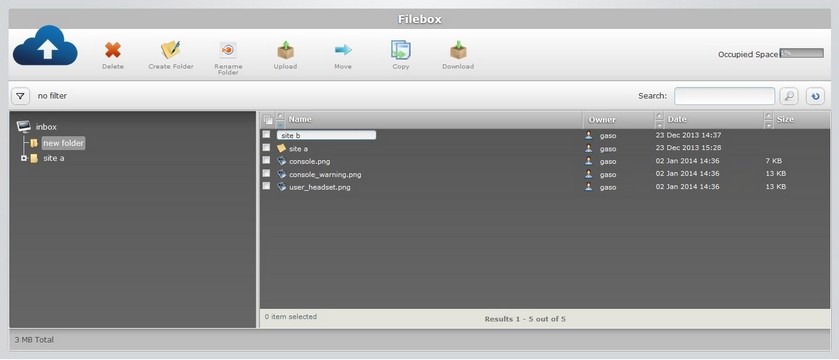
4. Press the "Enter" key in your PC keyboard to accept the name.
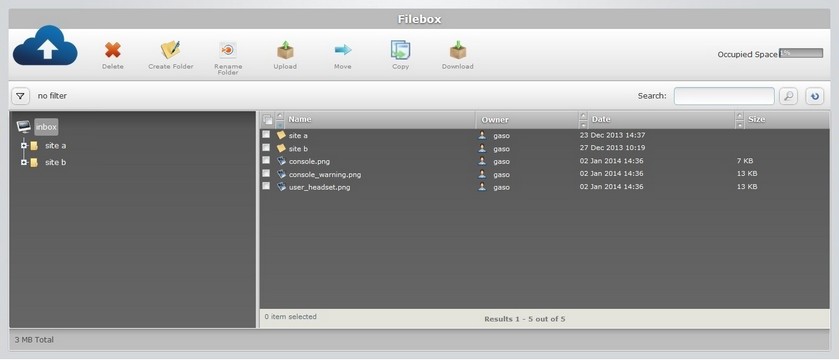
The newly created folder is displayed in the tree view (left section) and in the right section.