Overview
If required, you can upload files into the "Filebox" space.
Step-by-Step
1. In the Site Dashboard's "Control Panel", click ![]() to access
to access ![]() . Click it and open the "Filebox" page.
. Click it and open the "Filebox" page.
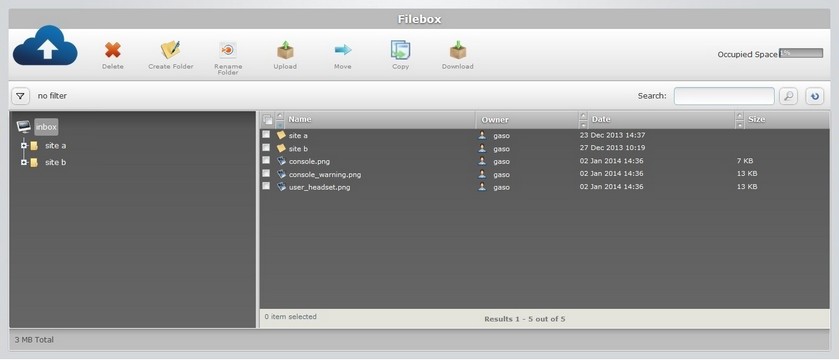
![]() The Inbox area is open, by default. If you want to perform the upload to the Outbox area, use the
The Inbox area is open, by default. If you want to perform the upload to the Outbox area, use the ![]() button (located below the Filebox icon) to access the
button (located below the Filebox icon) to access the ![]() button, and click it.
button, and click it.
2. On the left section, select the target folder/sub-folder for the uploaded file(s). If necessary, use the ![]() and
and ![]() buttons to navigate. (Ex: site b).
buttons to navigate. (Ex: site b).
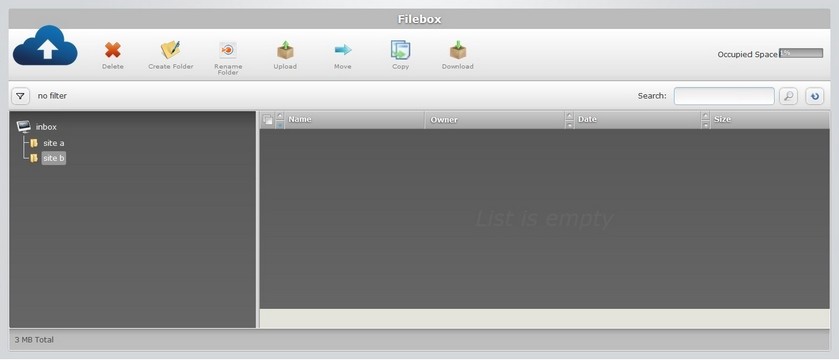
3. Click ![]() . The OS file explorer window opens automatically.
. The OS file explorer window opens automatically.
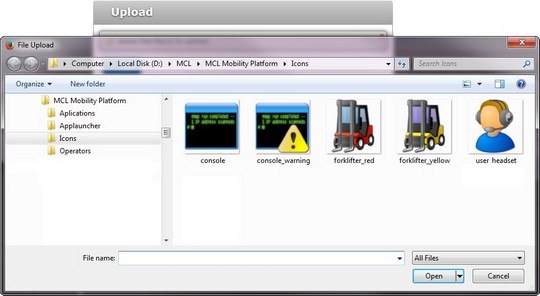
4. Browse for the desired file to upload and select it.
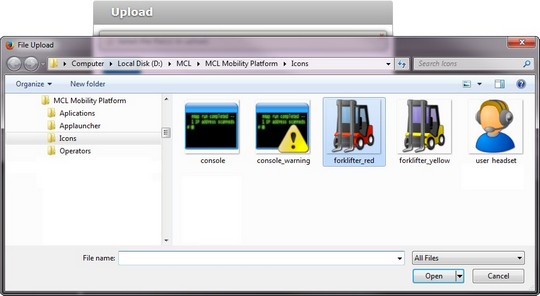
5. Click ![]() .
.
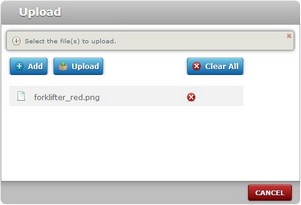
![]() If required, add more files by clicking
If required, add more files by clicking ![]() (and repeat steps 4 and 5).
(and repeat steps 4 and 5).
To delete an added file, click the corresponding ![]() . To delete all added files at once, click
. To delete all added files at once, click ![]() .
.
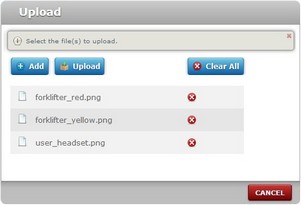
6. When you have added all the necessary files, click ![]() .
.
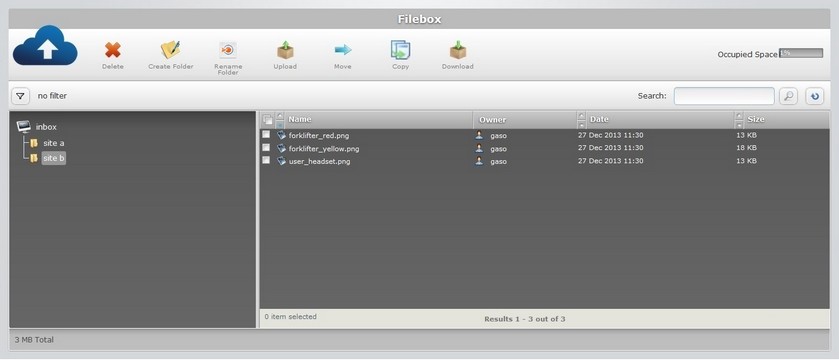
The added files are displayed on the right section.