|
Adding a Display Shape Control to a Screen |
  
|
Adding a Display Shape Control to a Screen
|
Adding a Display Shape Control to a Screen |
|
Control Purpose
This control offers a visual effect to a screen.
Add a shape to a screen by dragging a Display Shape control ![]() from the top section of the "Control" tab OR the Style Preview section onto the screen.
from the top section of the "Control" tab OR the Style Preview section onto the screen.
Step-by-step
1. Drag the control onto the screen:
•If dragged from the "Control" tab, the control will assume the default style. (See Set Default.)
•If dragged from the Style Preview section, it will assume that particular style.
2. Now, double-click the selected control on the screen OR the tree view to open the properties window.

3. Define the control's style by selecting it from the drop-down OR by clicking ![]() . See Editing and Creating Styles and Editing and Creating the Display Shape Style.
. See Editing and Creating Styles and Editing and Creating the Display Shape Style.
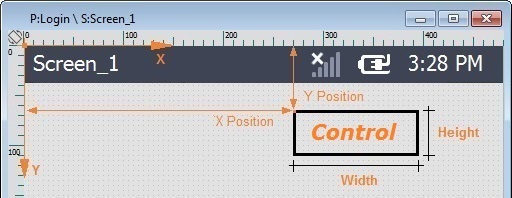
4. Maintain the given values or specify the position/size of the control, within the screen, by providing the "X" and "Y" coordinates as well as "Width" and "Height".
Detail of Position/Size values
5. In the "Control Settings" section, attribute a name to the control. This name is displayed in the tree view.
6. Check the "Visible" option to ensure it is displayed on the device's screen.
![]()
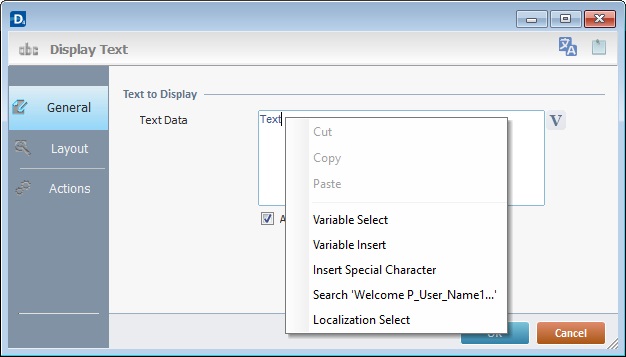
Use the right-click in MCL-Designer's input boxes to access some related options as well as the general "Cut"; "Copy"; "Paste"; "Search"actions (active/inactive according to the current context).
Ex: If you right-click the "Text Data" input box (included in a Display Text's properties window), you are provided with the general editing/search actions and other specific options such as "Variable Select" (see "Variable Select") ;"Variable Insert" (see "Variable Insert"), "Insert Special Character" (see To Insert Special Characters into a Control's Text Input Field) and "Localization Select" (see Localization List). If you right-click any other input box, it may provide other possibilities.
7. If required, click ![]() (which is located on the upper right corner of the properties window) to enter any relevant notes regarding this control. The entered information is displayed in the "Developer report".
(which is located on the upper right corner of the properties window) to enter any relevant notes regarding this control. The entered information is displayed in the "Developer report".
See Report.
8. To apply these choices, click ![]() .
.
The Display Shape control has been successfully added to the screen.
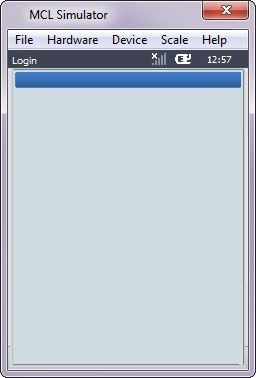
![]()
If any subsequent edition of the control's properties is required, double-click the Display Shape OR select "Edit" (in its right-click menu) to open the properties window.