Overview
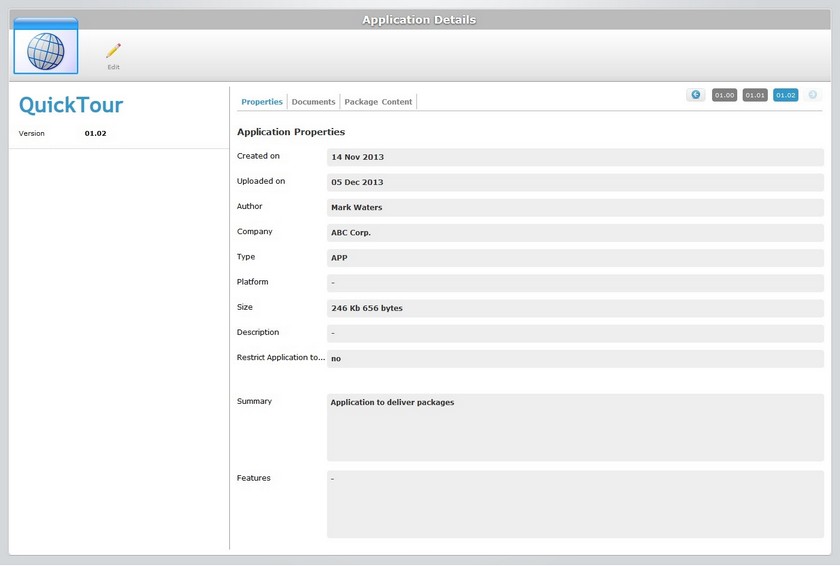
The features of an application are NOT editable but it is possible to edit some details concerning an application and to append files to it (see Appending Files to an Application).
Even though an application is a shared element by all sites, it is possible to restrict access to the application and only make it available to one site. The only requirement is that the application in question is not associated to a configuration or a deployment.
Step-by-step
1. In the Site Dashboard's "Control Panel" section, click ![]() and, in the resulting row, select
and, in the resulting row, select ![]() . Clicking it opens the "Applications" page.
. Clicking it opens the "Applications" page.

2. Click the name (displayed in light blue) of the application you want to edit.
![]() Use the
Use the ![]() button (located below the application icon) to access the
button (located below the application icon) to access the ![]() option. Check it to ensure the viewing of all application versions. If left unchecked, you only view the latest application version.
option. Check it to ensure the viewing of all application versions. If left unchecked, you only view the latest application version.

3. Click ![]() to set the page to "edit mode".
to set the page to "edit mode".
The only editable tabs are "Properties" and "Documents".

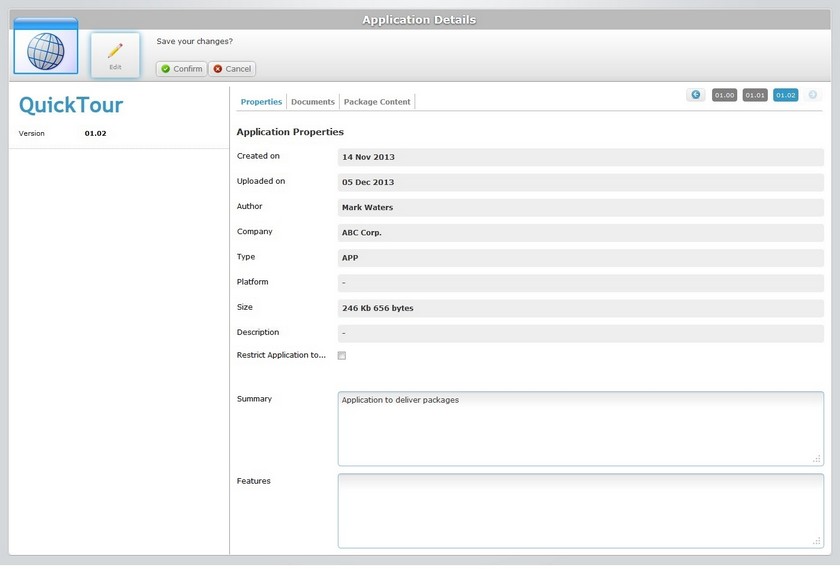
4. The "Properties" tab allows you to edit the following fields:
Restrict Application to...(this Site) |
Check this option if you want to limit application access to this site. This means that the application is only available for this site. This restriction can only occur if the selected application is not already associated to a configuration (see Configurations) or a deployment (see Deployments). |
Summary |
If relevant, edit the information regarding the application. |
Features |
If relevant, edit the information regarding the application's features. |
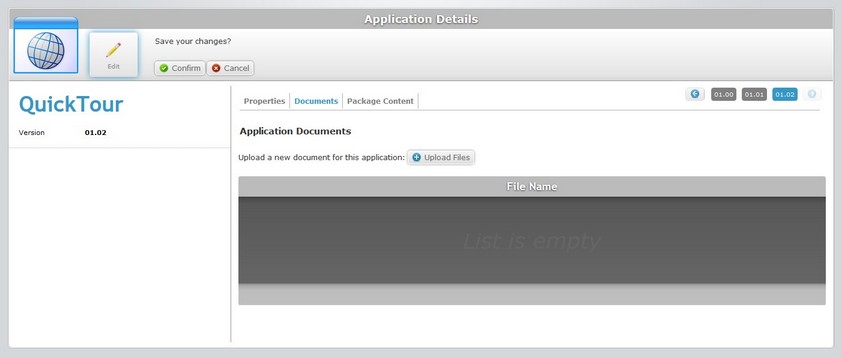
5. Go to the "Documents" tab.

6. If required, append the necessary files to the application. Click ![]() . For more detailed information, see Appending Files to an Application.
. For more detailed information, see Appending Files to an Application.
7. Once you have edited the required fields, click ![]() to apply the modifications.
to apply the modifications.