|
Simulating a Project |
  
|
Simulating a Project
|
Simulating a Project |
|
Overview
It is possible to simulate your project when it is concluded and, also, during its development. The simulator allows you to check any execution errors in your project without having to use a real device.
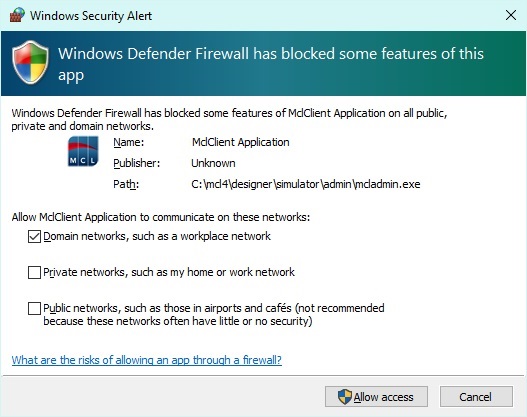
![]() When the simulator is used for the first time, firewall messages are displayed. These messages depend on the application managing the firewall - an anti-virus software or Windows. The images below are examples of messages generated by Windows:
When the simulator is used for the first time, firewall messages are displayed. These messages depend on the application managing the firewall - an anti-virus software or Windows. The images below are examples of messages generated by Windows:
|
|
|
Click ![]() to proceed.
to proceed.
![]()
When simulating a project that contains the "Sync Date/Time with Host" process (see Working with Sync Date/Time with Host Process), be sure to always start MCL-Simulator as administrator to prevent any issues.
To start the simulation, click ![]() (located on the Icon Shortcut Bar) OR go to the Menu Bar, click "Project" and, then, "Simulate".
(located on the Icon Shortcut Bar) OR go to the Menu Bar, click "Project" and, then, "Simulate".
•Simulating a speech project requires the download of the necessary language resource(s) from the "Language Resources Manager", so they are available for MCL-Simulator.
See The Language Resources Manager.
Ex: To simulate a speech project that uses Spanish and French, you must download/install the Spanish and French language packages (ASR and TTS language files) from the "Language Resources Manager".
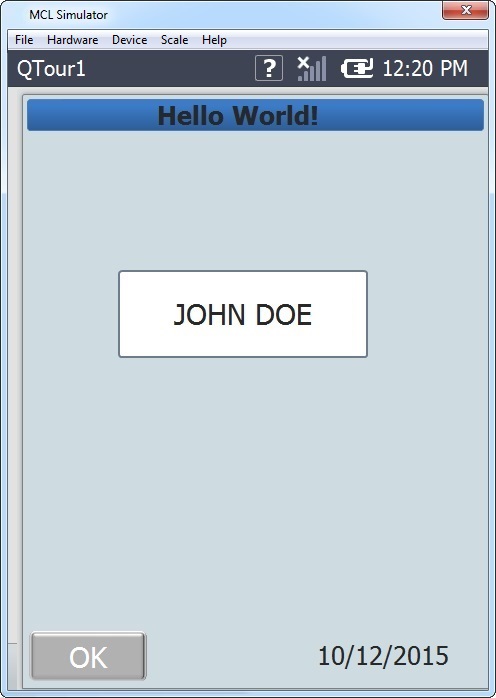
•The simulator window includes the actual screen that is viewed by the operator, on the device, and an options bar which is not viewed in the device's screen. The simulator's options bar includes the following menus:
"File" Menu

When clicked, the "File" menu provides a single option:
File |
|
Exit |
Click this option to end the simulation and close the simulator window. |
"Hardware" Menu
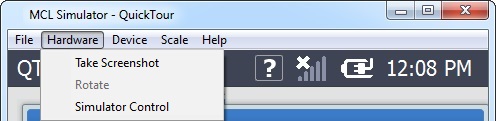
Select one of the following options:
Orientation |
||
Take Screenshot |
Click this option to obtain a screen shot of the opened screen. It is stored in the "...\Designer\Simulator\Screenshots" folder within the MCL-Designer V4 installation folder. |
|
Rotate |
Check this option to rotate the current screen orientation in the simulation. If the screen has a vertical orientation, clicking this option changes it to a landscape orientation and vice versa. |
|
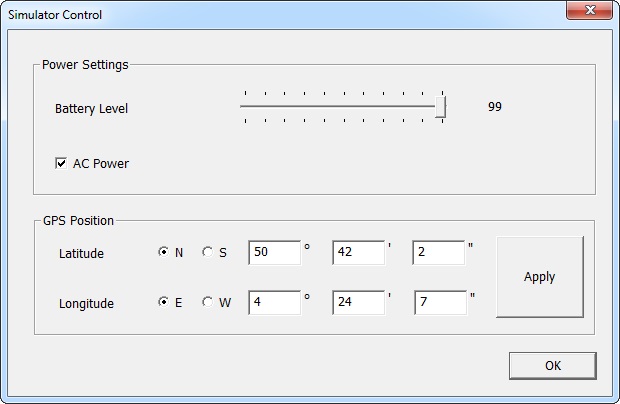
Simulator Control |
|
Power Settings Use this option to control the icons that represent the device's power ("On Battery" or "Charging") on the device's screen: Define the value for Battery Level to be displayed in the screen when the device is charging. To apply the choices made, click |
GPS Position Define the GPS Position values to be used when simulating GPS usage in a project. Click
|
||
"Device" Menu
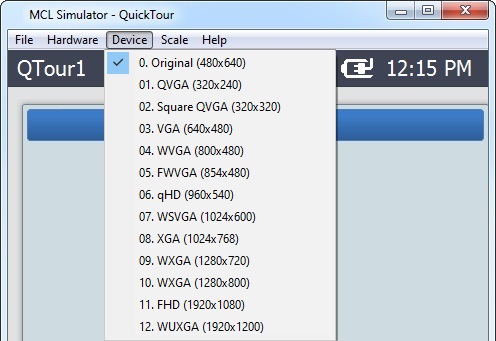
If required, click "Device" to select the appropriate screen resolution for the simulation.
Regarding the screen section itself, use it as the operator should, to check if the application's flow is successful.
"Scale" Menu
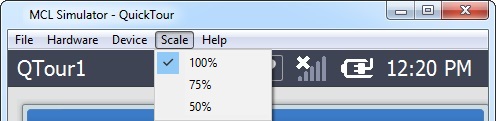
By default, the dimension of the MCL-Simulator window is the same as the one defined for the project being simulated (in the "Zoom" section of the Icon Shortcut Bar).
If required, click "Scale" to define another dimension for the simulator window.
Use it to scale down/up the simulator window without having to select a different screen resolution.
"Help" Menu

If required, click "Help" and, then, "About..." to check the current Simulator version. The resulting window displays the following info:
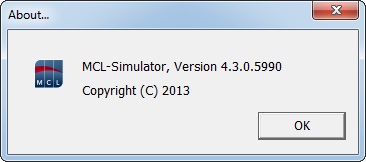
Click ![]() to close the window.
to close the window.
Possible Toolbar Icons
The MCL-Simulator's toolbar displays several icons that represent current information:

Connection Type Icon |
|
|
The current PC connection type. |
Power Supply Icons |
|
|
Device is charging. |
|
Device is on battery. |
System/Application Information |
|
|
The current time (as defined in regional settings). |
|
The upper left corner can display different information. To access it, click the area until it displays what you intend to view: The name of the currently opened screen. The current date (as defined in regional settings). The recognized speech input and confidence rate (only available, if you are developing a speech application). |
|
Screen Help available. This icon is displayed if you added information in that screen's properties window (in the "Help" tab). See Help tab. |
Speech Icons (States) |
|
|
No current speech input. (NOT applicable to non-speech projects.) |
|
Receiving speech input. (NOT applicable to non-speech projects.) |
|
Speech input recognized/accepted. (NOT applicable to non-speech projects.) |
|
Input speech not recognized/rejected. (NOT applicable to non-speech projects.) |
|
There is a Recognizer error which can be caused by invalid grammar. (NOT applicable to non-speech projects.) |
Navigation Icon |
|
|
The Navigation feature/software is active and available within MCL-Simulator. |
"Speech" Icon(s)
When running a speech project simulation with MCL-Simulator, you can access speech related options by clicking the ![]() icon (whatever the state).
icon (whatever the state).

This window displays the following options:
|
Use these buttons to lower or increase the volume of the speech output (what you hear in MCL-Simulator). As an alternative, use the corresponding slider (identified with the same icons) to change the volume levels. Whenever you edit the volume, you hear a speech prompt illustrating that change. |
|
Use these buttons to lower or increase the speed of the speech output (what you hear in MCL-Simulator). As an alternative, use the corresponding slider (identified with the same icons) to change the speed levels. Whenever you edit the speed, you hear a speech prompt illustrating that change. |
|
Use this button to perform a calibration within MCL-Simulator. See Calibration. |
To close this window, click outside it.