Web Service (SOAP)
Overview
The "Web Service (SOAP)" tab contains a table with all project settings regarding SOAP Web Service profiles. These SOAP Web Service profiles are used in the Web Service processes.
See Working with SOAP Process.
The displayed options can only be edited during project development (published projects cannot have their settings edited).
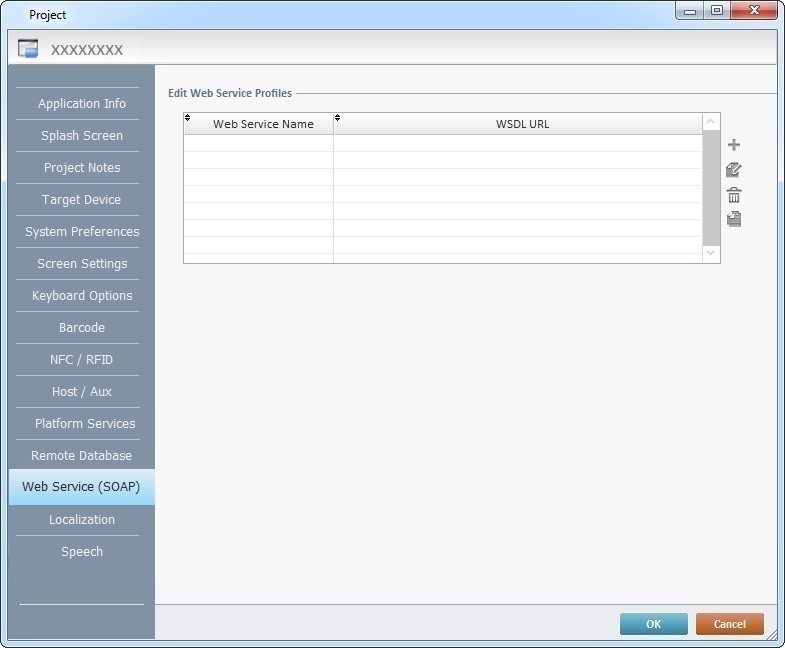
SOAP Web Service profiles can be added, deleted, edited or copied using the ![]() icons.
icons.
Click ![]() to apply the modifications OR proceed to another tab.
to apply the modifications OR proceed to another tab.
For more information, see:
To Create a Web Service Profile
To Create a Web Service Profile
Step-by-step
1. Use one of the following methods to open the table with the existing web service profiles:
a. Open the "Web Service" tab of the current project's properties window ("Project" menu ,in the Menu Bar > "Properties" option > "Web Service SOAP" tab).
b. Click ![]() in the properties window of the SOAP process.
in the properties window of the SOAP process.

2. Click ![]() (located to the right of the table).
(located to the right of the table).
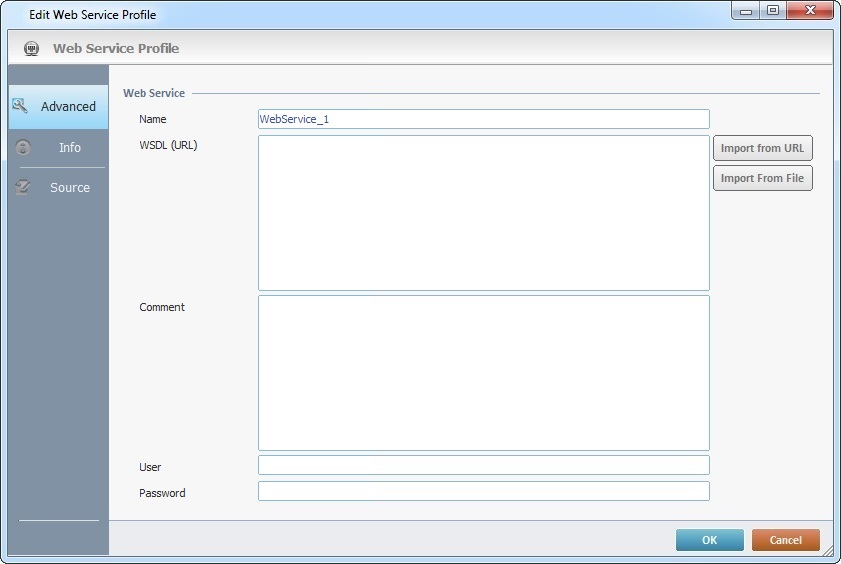
3. Fill in the following options according to the project's requirements:
Web Service |
|
Name |
Enter the name of the web service you intend to define for your profile. |
WSDL (URL) |
Enter the required web service's WSDL (URL) and add ?WSDL to the end of the URL. |
Comment |
If required, enter information regarding the web service profile. |
User |
If required by the defined web service, enter the authentication credentials that will be used by MCL-Designer to communicate with the web service and retrieve the corresponding WSDL file.
The actual communication between the MCL project and a web service with Basic/Digest Authentication requires an authorization profile with the necessary credentials. Make sure you create the authorization profile and apply it to the used "Web Service/Web Site" Host profile. See Authorization Profiles.
|
Password |
|
![]() You must always enter ?WSDL after the web service URL.
You must always enter ?WSDL after the web service URL.
(ex.: http://wsf.cdyne.com/WeatherWS/Weather.asmx?WSDL).
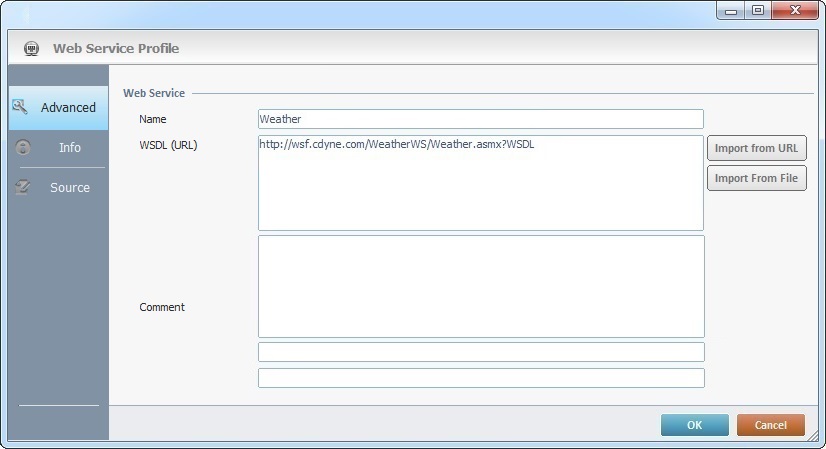
4. If required, use the ![]() or the
or the ![]() to get/refresh the web service information:
to get/refresh the web service information:
|
Use this button after you have entered the intended URL, in the corresponding option, to refresh the web service's information. |
|
Use this button to browse for a file (specifically, a .wsdl type file) containing web service information. The "WSDL(URL)" option will display the path to the selected file. |
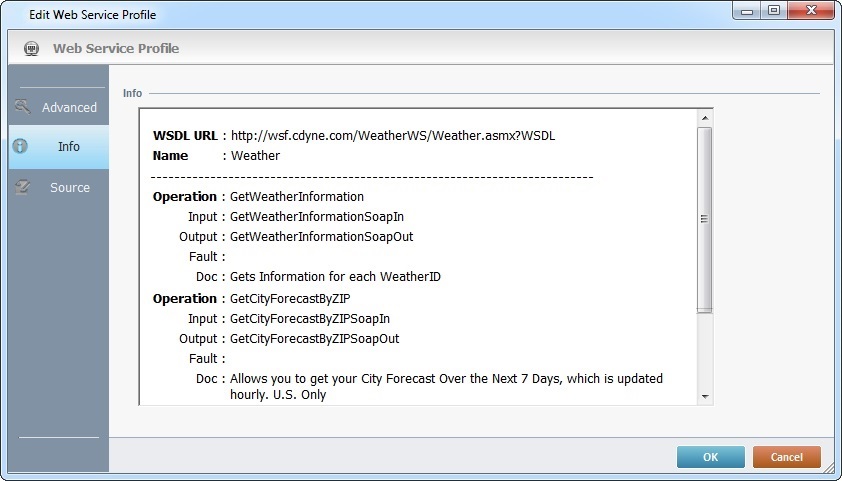
5. Go to the "Info" tab to view the defined web service's info.
Ex: A "Weather" web service.
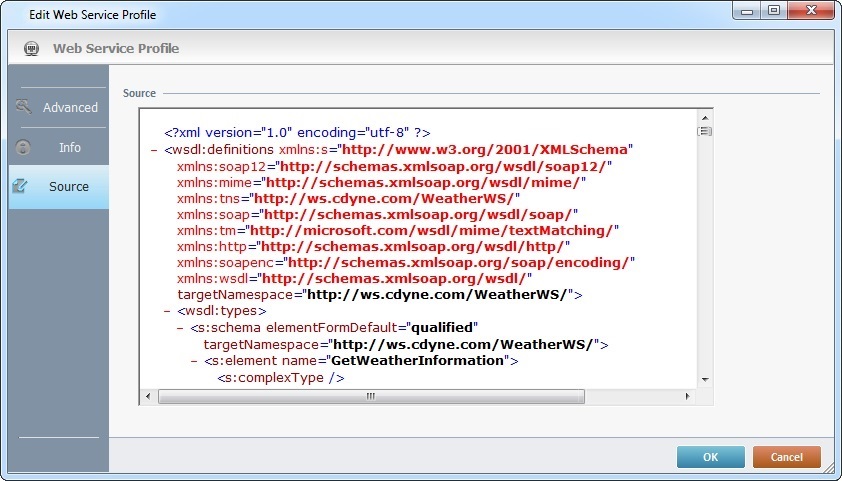
6. Go to the "Source" tab to view the defined web service's source code.
7. Click ![]() .
.
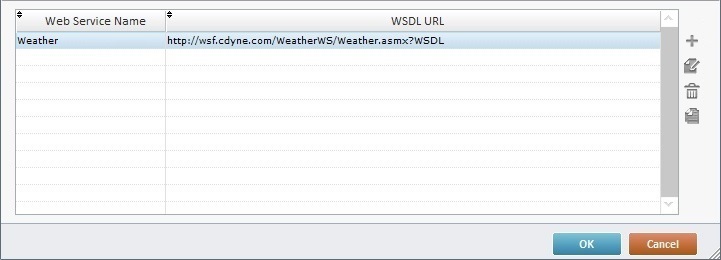
The new web service profile is, now, listed.
Examples of Web Service Errors
Error Messages |
|
Corrective action: •Enter a new name in the "Name" option.
•Click |
Corrective action: •Click •Click |
Step-by-step
1. Use one of the following methods to open the table with the existing web service profiles:
a. Open the Web Service" tab of the current project's properties window ("Project" menu ,in the Menu Bar > "Properties" option > "Web Service" tab).
b. Click ![]() in the properties window of the SOAP process.
in the properties window of the SOAP process.

2. Double-click the intended web service profile OR select it and click ![]() .
.

3. Edit the information as required by the project (ex: change the web service's name).

4. Click ![]() to apply the changes.
to apply the changes.